
How to remove clear self adhesive labels without damaging the surface?
Oct 20, 2026
Leave a message
If you’ve ever peeled a clear self-adhesive label off a glass jar, plastic product, or metal surface only to leave behind a sticky, cloudy residue or even scratch the material, you know how frustrating that leftover gunk can be. As a supplier of custom clear self-adhesive labels for everything from food packaging to tech components, I’ve spent years fielding questions from customers who struggle with removal—especially since clear labels are designed to stick firmly to smooth surfaces, which means when it’s time to take them off, they’re not always easy to budge. The good news is that removing these labels without damage isn’t guesswork; it’s all about understanding how pressure-sensitive adhesives work, matching the right tools to the surface, and using gentle, controlled methods that melt or lift the adhesive without tearing it or breaking the surface beneath.
First, let’s get a quick science lesson on clear self-adhesive labels to set the stage. Unlike paper labels, clear labels use a pressure-sensitive adhesive (PSA) that forms a bond when gentle pressure is applied, no water or heat required— which is why they’re so popular for sleek, modern packaging. That same bond, though, means when it’s time to remove them, the adhesive can stick tightly to the surface, often leaving a thin polymer film or residue, especially on non-porous surfaces like glass, plastic, or stainless steel. Before you grab the first bottle of adhesive remover you find at the store, it’s important to test any method on a small, hidden area of the surface first—what works on a glass jar might etch a delicate plastic or remove a printed layer from a product, which is the last thing you want when you’re reusing a container or repurposing an item.
Let’s break down the removal methods by surface type, because that’s the biggest variable here. Smooth, non-porous surfaces like glass, ceramic, or uncoated metal are the easiest to work with, since they don’t absorb adhesive or react easily to gentle solvents. For these surfaces, the classic “heat and peel” method works wonders, and it’s gentle enough for most clear labels I supply, including our Round Self Adhesive Labels for glass candle jars and our waterproof self-adhesive labels for metal kitchen storage containers. Here’s how to do it: Use a hair dryer on its low-to-medium heat setting (high heat can warp plastic or soften some adhesives too much) and hold it 4 to 6 inches away from the label, moving it back and forth for 30 to 60 seconds to warm the adhesive. Once the label feels pliable, start peeling it at a 45-degree angle, pulling slowly rather than yanking—if the label tears, you can reapply heat to the remaining piece to lift it. If there’s a small bit of residue left after peeling, a dab of rubbing alcohol on a microfiber cloth will wipe it away without streaking, just make sure to test the alcohol on a hidden spot first for delicate surfaces.
For porous or slightly textured surfaces, like unfinished wood, coated cardboard, or textured plastic, you’ll want to skip the heat and harsh solvents, which can soak into the material and cause discoloration or damage. These surfaces are common for products like custom business labels, and as a supplier, we often get requests for labels that can be removed from retail packaging or display materials without ruining the box. For porous surfaces, the best method is to use a mild, oily substance to break down the adhesive. I recommend using vegetable oil, coconut oil, or even hand lotion—these are gentle, non-toxic, and won’t damage porous materials. Apply a small amount to the residue or label edge, let it sit for 5 to 10 minutes, then use a plastic scraper (or even a credit card, if you don’t have a tool) to gently lift the label. Wipe away any remaining oil with a damp cloth, and you’re done. This method works great for labels on cardboard display boxes, where a scraper could easily scratch the surface if you’re not careful.
Now, what about tricky surfaces? Delicate plastic, like polycarbonate or acrylic, is one of the hardest to remove labels from, because harsh chemicals or high heat can warp or cloud the material. I’ve had customers reach out about removing clear labels from phone cases, acrylic photo frames, and plastic storage bins, and the key here is to use a pressure-based lift rather than solvents. For these items, start by peeling as much of the label as possible by hand, then apply a piece of masking tape over the remaining adhesive residue and press firmly. Pull the masking tape off quickly—this will lift the small adhesive bits without leaving a mark. Repeat if necessary, and if there’s still a faint residue, a tiny amount of dish soap mixed with warm water on a soft cloth will remove it without damaging the plastic. This method is also perfect for our Sticky Business Labels, which are often applied to plastic product packaging or display stands that need to stay looking new.
Another common scenario is full-page adhesive labels, like those used on shipping boxes or large product packaging. These labels are bigger, so they can be more prone to tearing, but the same heat method applies, just adjusted for size. For full-page adhesive labels on metal or glass boxes, use a heat gun (on low setting) instead of a hair dryer, moving it slowly across the entire label for 1 to 2 minutes to warm the adhesive evenly. Once the whole label is pliable, peel it back in one long, slow strip at a 45-degree angle—if it starts to tear, reapply heat to that section before continuing. For full-page labels on cardboard or coated paper, use the oily method I mentioned earlier, applying the oil along all edges and letting it sit a bit longer to soak through the large label surface. This will prevent tearing and ensure you lift the entire label in one piece, which is great if you’re saving the container or reusing the packaging.
Wait, there’s one big mistake people make when removing clear self-adhesive labels: using too much force too quickly. Whether it’s yanking a label off by hand or scraping too hard with a tool, fast, rough movements are the main cause of surface damage. I learned this early on as a label supplier—when I first started, I had a customer who tried to peel a round label off a glass wine glass too fast, and they ended up scratching the surface. Since then, I’ve always advised customers to take it slow, and that’s the most important tip I can pass along. Even with the right method, rushing leads to mistakes.
Let’s also talk about when to avoid certain methods. For example, acetone-based nail polish remover might work on tough residue, but it can dissolve some types of plastic and paint, so it’s not a good go-to. Same with commercial adhesive removers—many are too harsh for delicate surfaces and can leave their own residue. Stick to the mild options first: heat, oil, masking tape, or rubbing alcohol for non-porous surfaces, and test any method on a small hidden area before you start on the whole label. This simple step can save you a lot of headaches, whether you’re removing a label from a heirloom glass or a new product that you’re selling.
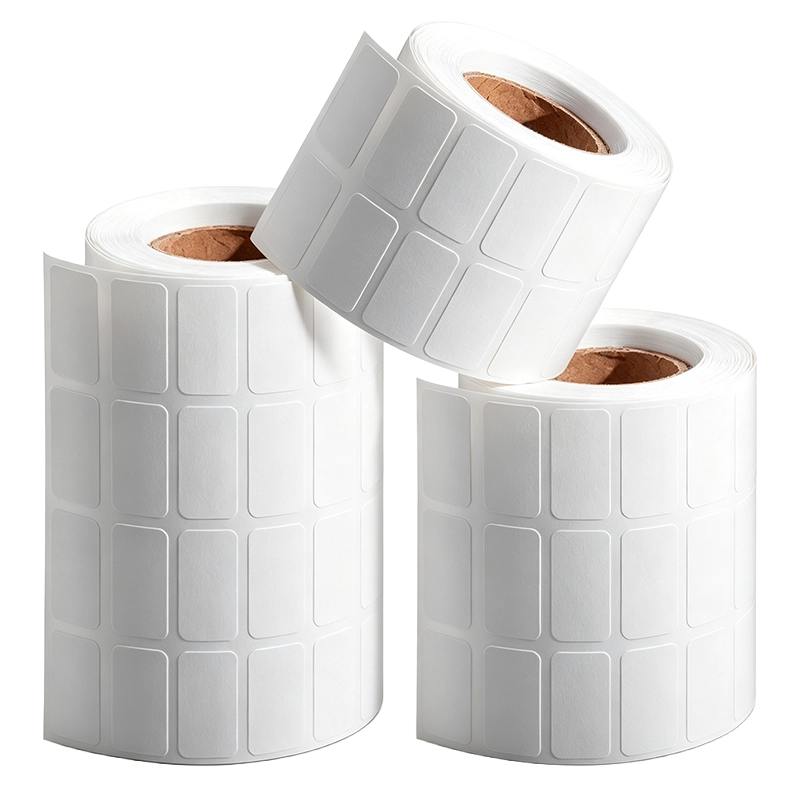
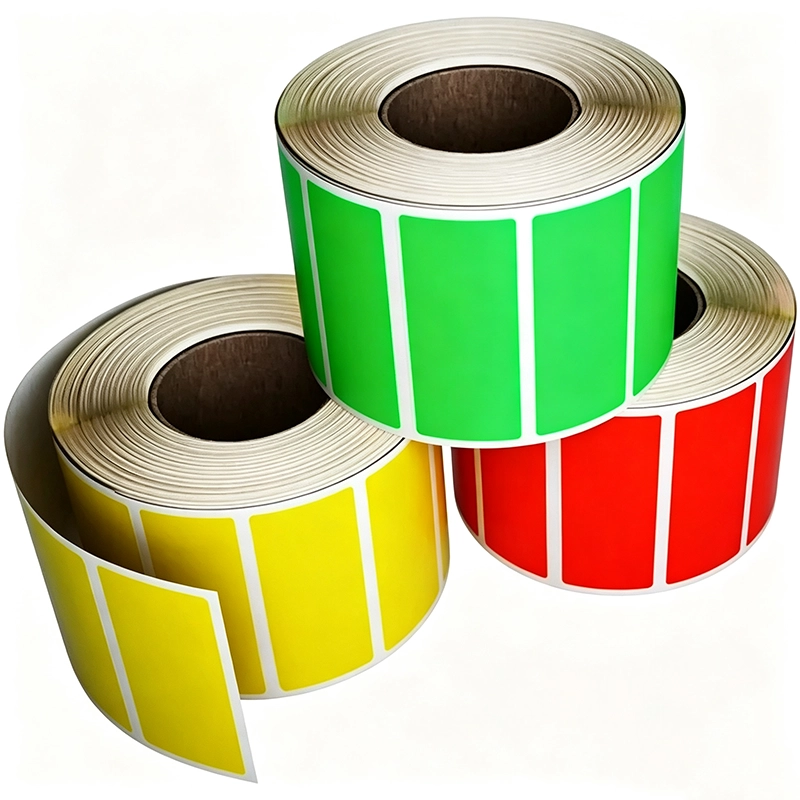
If you’re in the market for clear self-adhesive labels that are easy to apply and, if needed, easy to remove, I offer a range of options tailored to different uses. Our pressure-sensitive stickers are formulated to stick firmly but can be removed with the methods I outlined above, without damaging the underlying surface. We also carry waterproof self-adhesive labels that work great for outdoor products or items that get wet, and they’re just as easy to remove when needed. For businesses needing branding labels, our sticky business labels come in clear finishes that look sleek on any surface, and our full page adhesive labels are perfect for large packaging or bulk items. We also have round self adhesive labels ideal for jars, bottles, and small products, with clear finishes that won’t take away from the item they’re applied to.
Whether you’re a consumer reusing a glass jar or a small business owner updating product packaging, removing clear self-adhesive labels doesn’t have to be a stressful process. The key is to match your method to the surface, take it slow, and test first. If you have specific needs for your label project or questions about removal, feel free to reach out to discuss your requirements. We work with clients across industries to provide high-quality clear self-adhesive labels that meet their needs for durability, appearance, and ease of use.
References
- Adhesive Science: Pressure-Sensitive Adhesives for Labeling Applications, National Label Manufacturers Association, 2022
- Surface Compatibility Guidelines for Removing Self-Adhesive Labels, Industrial Packaging and Labeling Association, 2021
- Gentle Removal Methods for Non-Porous Surfaces, Household Cleaning and Care Journal, Vol. 18, No. 3, 2020
Send Inquiry